Updated on 2024 24Asia/TaipeipmMon, 26 Feb 2024 16:07:41 +0800 2 02202422904 26 26pm29Asia/Taipei
Docy
Action & Performance
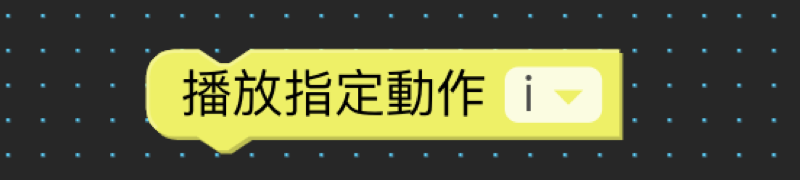
Play the specified action
The description
can use the action name of the Nu Wa action library as a “variable” and open its actions with other commands
.
Example
You can play it using the “View Variable Description” from the “View Variable Description” in the “Play Assigned Action” box drop-down menu to see the list of action libraries, and assign the text to the file name as “Variable”, or use the previously taught “Determine if text is included” “Word” for advanced applications.
actions
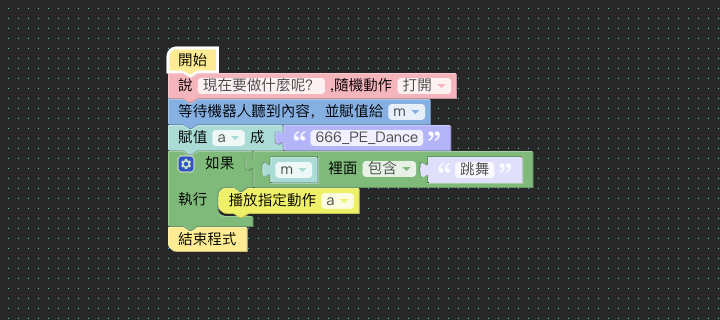
_ _ Rotation __°
Explains
the direction, speed, and angle of rotation of the robot by clicking the pull-down menu in the box.
Example
Click the menu “Actions” in the menu on the left and drag “Slow Rotate Left _°” to the canvas.
Click on the drop-down menu and select “Right” and “Rotate 90°”.
After dragging the program under “Start”, select the device to play on – My Bot (or Simulator).
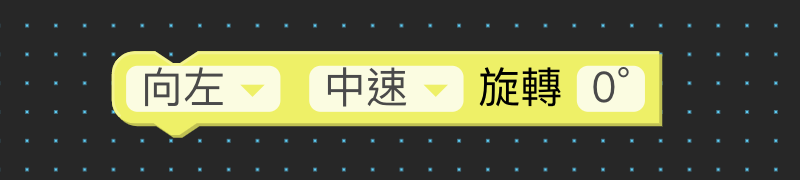
_ _ Mobile
DescriptionClick
the pull-down menu in the box to set the robot forward or backward, and also select speed and distance.
For example
, click on the menu “Actions” menu on the left and drag “Slow forward _ cm” onto the canvas.
Click on the drop-down menu and select “Backward”, “Medium”, and “Move 10″ cm.
After dragging the program under “Start”, select the device to play on – My Bot (or Simulator).
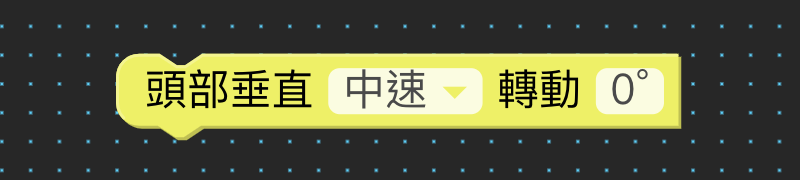
Head vertical _ rotation __°
Describes
setting the angle of the vertical rotation of the robot’s head.
Example
Click the “Actions” menu on the left menu, drag “Head Vertical _°” to the canvas, and select Vertical Rotation” 15°”.
After dragging the program under “Start”, select the device to play on – My Bot (or Simulator).
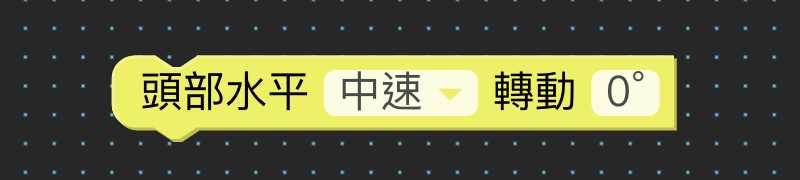
Head level _ rotation __°
Explains how
to set the angle of the robot’s head to rotate horizontally.
Example
Click the “Actions” menu on the left menu, drag “Head Horizontal _°” to the canvas, and select Horizontal Rotation” -20°
”.
After dragging the program under “Start”, select the device to play on – My Bot (or Simulator).
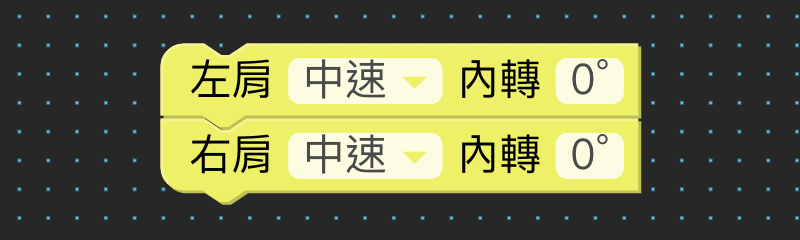
Left/right shoulder _ turn in __°
Instructions
to set the angle of the robot’s left/right shoulder rotation.
Example
Click the “Actions” menu on the left menu, drag “Turn right shoulder in _°” to the canvas, and select” -20°
”.
After dragging the program under “Start”, select the device to play on – My Bot (or Simulator).
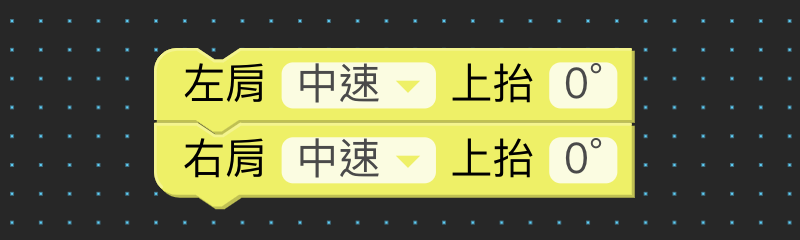
Left/right shoulder _ lift __°
Describes
setting the angle of the robot’s left/right shoulder lift.
Example
Click the “Actions” menu on the left menu, drag “Left shoulder _°” to the canvas, and select” 100°”.
After dragging the program under “Start”, select the device to play on – My Bot (or Simulator).
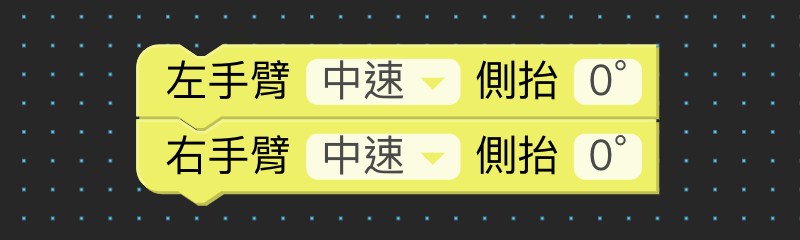
Left/right arm _ side lift __°
Instructions
to set the angle of the robot’s left/right arm side lift.
Example
Click on the menu “Actions” on the left menu, drag “_° on the right arm” to the canvas, and select 90°”.
After dragging the program under “Start”, select the device to play on – My Bot (or Simulator).
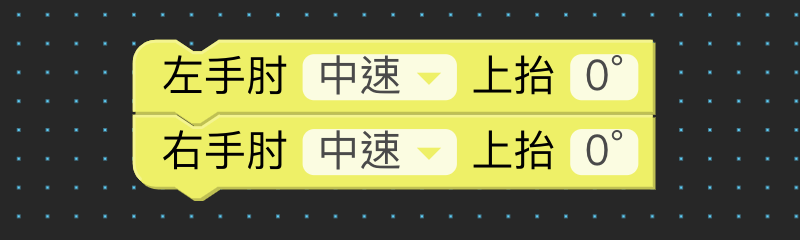
Left/right elbow _ lift __°
Instructions
to set the angle at which the robot’s left/right elbow is raised.
Example
Click the “Actions” menu on the left menu, drag “_° on left elbow” to the canvas, and select” 30°”.
After dragging the program under “Start”, select the device to play on – My Bot (or Simulator).
Face
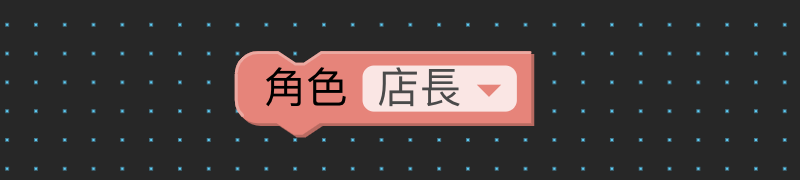
Role _
Describes
the
role of setting up the robot face. When the tile is executed, the canvas of the other tiles will be displayed on the screen instead of the default face.
For example
,
click the menu “Faces” on the left menu, drag “Character” to the canvas, and select the character “Star”.
Drag the program to the bottom of “Start” and select the device you want to play on – My Bot (or Simulator).
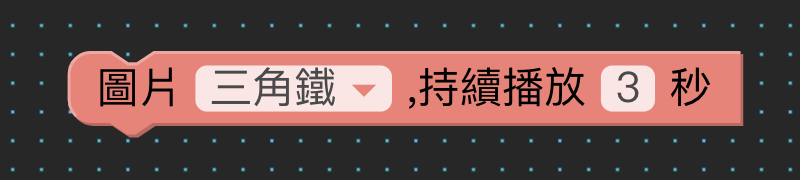
Picture _, keep playing _ seconds
Describes
setting a picture of a robot’s face.
For example
,
click the menu “Faces” on the left menu, drag “Pictures” to the canvas, and select the image “Phone”.
Drag the program to the bottom of “Start” and select the device you want to play on – My Bot (or Simulator).
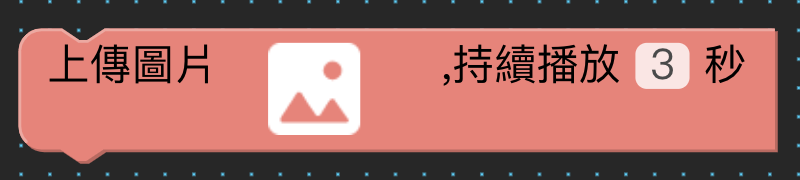
Upload pictures _, keep playing _ seconds
Description
Double click on the box and click “+” to upload the pre-prepared image to play on the robot’s face, and you can set the number of continuous playback seconds.
The example
prepares the required image named “123″.
Click on the “Faces” menu on the left menu and drag and drop “Upload image” to the canvas.
Double click the box, click “+”, select picture 123″, wait for the image to upload, after the upload is complete, click the image, and then click confirm.
Set to keep playing for 5 seconds.
Drag the program to the bottom of “Start” and select the device you want to play on – My Bot (or Simulator).
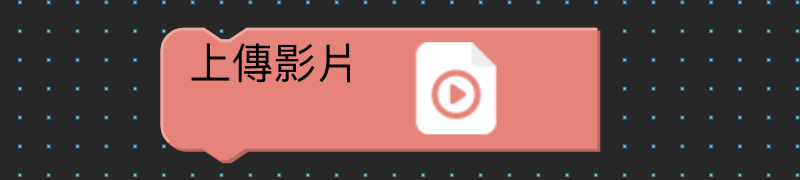
Upload Video _
Description
Double click on the box and click “+” to upload the pre-prepared video to play on the robot’s face.
The video for
example
preparation is named “abc”.
Click on the menu “Faces” on the left menu and drag and drop “Upload Video” to the canvas.
Double click the box, click “+”, select the video “abc”, wait for the video to be uploaded. After the upload is complete, click the video, and then click OK.
Drag the program to the bottom of “Start” and select the device you want to play on – My Bot (or Simulator).
‼️ Note:
Video format support: mp4, mpeg, mpg, webm
video file size cannot
exceed 20MB
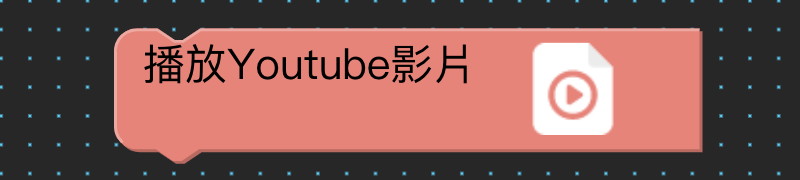
Play Youtube Video _
Description
Double click on the box and enter your own pre-prepared YouTube link. The link will be ready to play on the bot’s face.
For example
, click the menu “Faces” on the left menu and drag “Play Video” to the canvas.
Drag the program to the bottom of “Start” and select the device you want to play on – My Bot (or Simulator).
‼️ Note: Do not enter the URL of the live stream or playlist, otherwise the video cannot be paused, which will prevent the program from running smoothly.
lighting
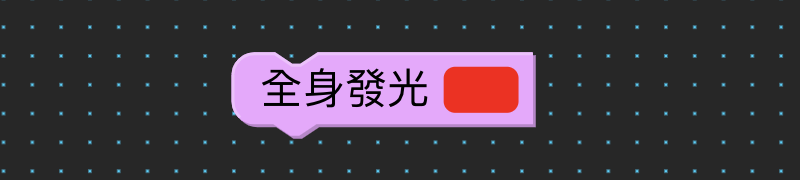
Full body luminous _
Descriptions
to make the robot glow throughout the body and specify the light color.
For example
,
click the “Lights” menu on the left menu, drag “Full Body Glow” to the canvas, and select the color “Purple”.
Drag the program to the bottom of “Start” and select the device you want to play on – My Bot (or Simulator).
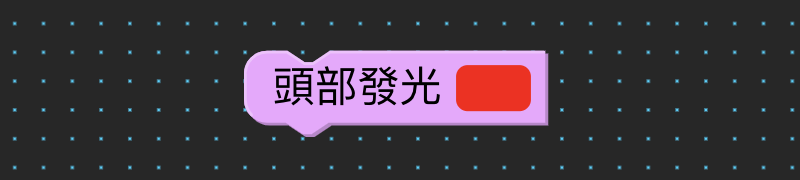
Head glow _
Descriptions
to make the robot’s head glow and specify the light color.
For example
,
click the “Lights” menu on the left menu, drag “Head Glow” to the canvas, and choose the color “Orange”.
Drag the program to the bottom of “Start” and select the device you want to play on – My Bot (or Simulator).
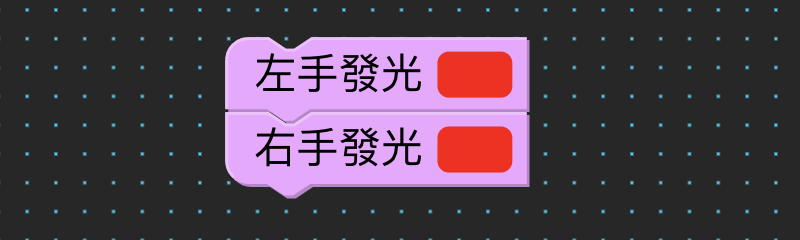
Left/right hand light _
Instructions
to make the robot’s left/right hand glow and specify the light color.
For example
,
click the “Lights” menu on the left menu, drag “left hand glow” to the canvas, and choose the color “yellow”.
Drag the program to the bottom of “Start” and select the device you want to play on – My Bot (or Simulator).
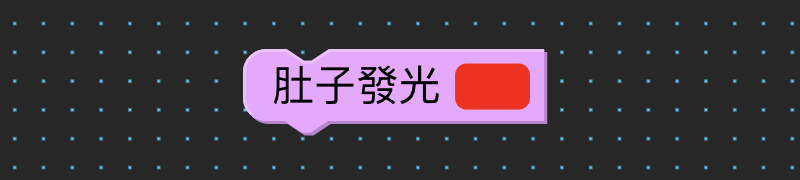
Tummy glow _
Explain
to make the robot’s tummy glow and specify the light color.
For example
,
click the “Lights” menu on the left menu, drag “belly glow” to the canvas, and choose the color “green”.
Drag the program to the bottom of “Start” and select the device you want to play on – My Bot (or Simulator).
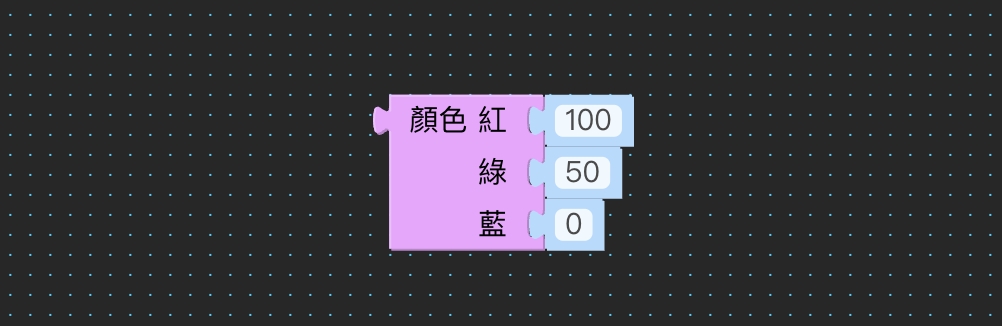
Color red _ blue _ green _
Describes
creating a color by specifying values for red, green, and blue. All values must be between 0 and 255.
The example
sets the robot to emit purple light, and the input values are “Red 100, Green 0, Blue 255”.
voices
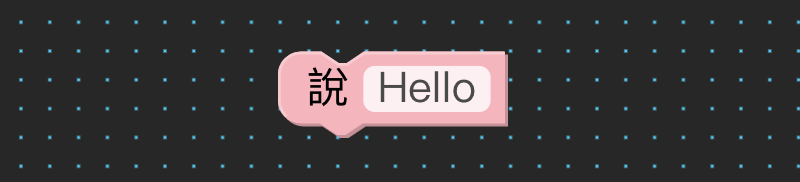
Say __
Describes
letting the bot speak the specified words, sentences.
For example
,
click on the menu “Sound” on the left, drag “Say_” to the canvas, and type “how are you”.
Drag the program to the bottom of “Start” and select the device you want to play on – My Bot (or Simulator).
‼️ Note: When the program is running, only one tts voice can be played at the same time. If the situation is running at the same time, the previous tts voice will be played before the subsequent tts speech will be played.
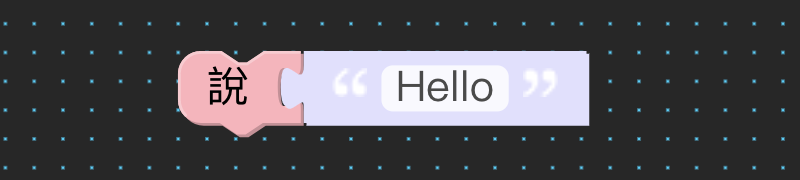
Say “__”
The
description
is different from “say _”, by selecting the appropriate variable and dragging into the original text, allows the robot to speak the specified variable flow, not limited to words, sentences, variables must be strings.
👉🏻 For variables, refer to
In this page,
click on the menu “Variables” on the left menu, click Create Variable, add the variable name “random”, and drag “Assign random as” to the canvas.
Click on the “Mathematical” menu on the left menu and drag “Random Score” into the “Assign random as” gap.
Click on the “Sound” menu on the left, drag “say” _” to the bottom of “assign random as”, and drag the variable “random” into the “say “_” gap.
Drag the flow below Start and select the device to play on — My Bot (or Simulator).
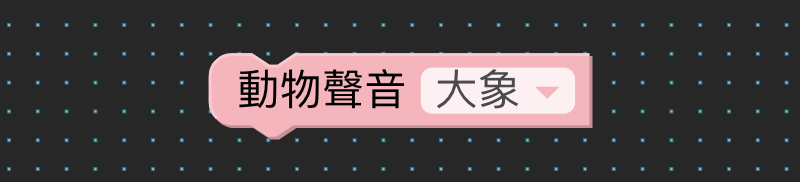
Animal Sounds _
Describes
allowing the robot to make a designated animal sound.
For example
,
click the menu “Sounds” on the left menu, drag “Animal Sounds” to the canvas, and select the animal sound “Monkey”.
Drag the program to the bottom of “Start” and select the device you want to play on – My Bot (or Simulator).
Scales_
Describes
allowing a bot to emit a specified scale.
For example
,
click the menu “Sound” on the left menu, drag “Scale” to the canvas, and select the “Mi” scale.
Drag the program to the bottom of “Start” and select the device you want to play on – My Bot (or Simulator).
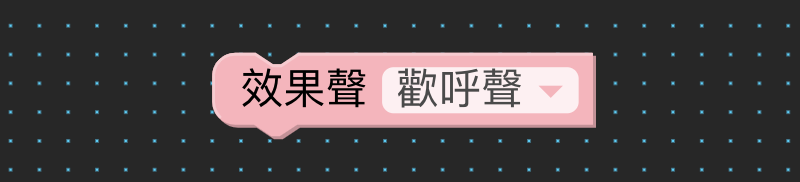
Sound effect _
Describes
allowing the bot to broadcast a specified sound effect.
For example
,
click the menu “Sounds” on the left menu, drag the “Sound Effects” to the canvas, and select the effect sound “Gorgeous debut”.
Drag the program to the bottom of “Start” and select the device you want to play on – My Bot (or Simulator).
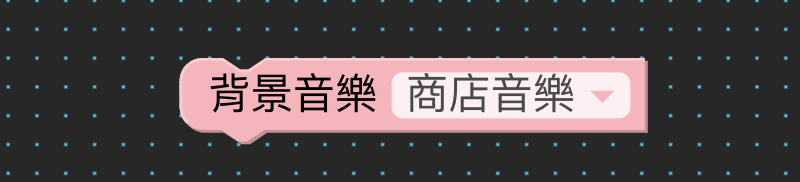
Background music _
Descriptions
allow the bot to play a specified background music.
For example
,
click the “Sounds” menu on the left menu, drag “Background Music” to the canvas, and select the background music “Motion”.
Drag the program to the bottom of “Start” and select the device you want to play on – My Bot (or Simulator).
‼️ Note: When you start playing background music, if there is a box behind it, the box will be executed at the same time, otherwise you have to wait until the background music is finished or replaced by the background music of another process, the background music process ends.
Only one background music is played in a program at the same time, otherwise it will cause the speaker to occupy, and the speaker will have an occupancy conflict when playing multiple background music or tts. There is no conflict between other sounds and background music, tts speech, and speakers can be used at the same time
.
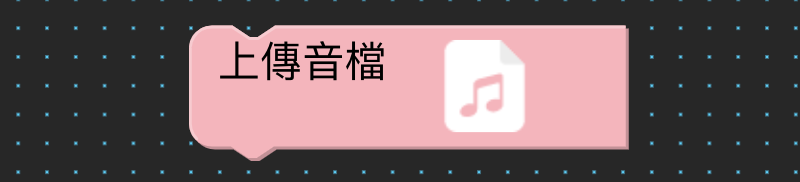
Upload Audio File
Description
Double click on the box and enter your own pre-prepared audio file or record it now to play on the robot.
📒 Added: App Labs real-time recording time up to 30 seconds.
For example
,
click the “Sound” menu on the left menu and drag “Upload Audio” to the canvas.
Double-click the box, select “Record Now” and click the record icon to start recording.
When the recording is complete, click the Stop icon to end the recording and click “Confirm Upload”.
Wait for the recording to be uploaded, after the upload is complete, tap the recording, then click OK.
Drag the program to the bottom of “Start” and select the device you want to play on – My Bot (or Simulator).
‼️ Note:
Audio file format support: ogg, wav, mp3
files can not exceed 100MB
recording time up
to 30 seconds
Theme Performances
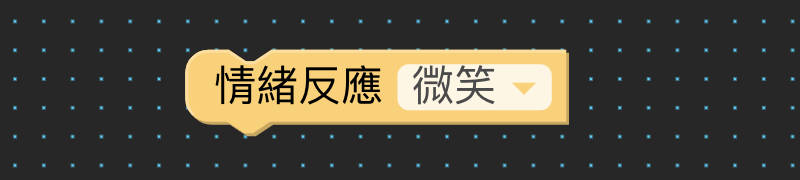
Emotional reaction
Explains
allowing the robot to respond to a given emotional response.
Example
Click on the menu “Theme Shows” menu on the left, drag “Emotion Response” to the canvas, and select the emotion response “Sentiment”.
Drag the program to the bottom of “Start” and select the device you want to play on – My Bot (or Simulator).
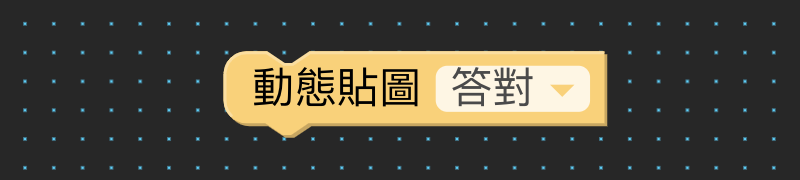
Animated Stickers
Descriptions
that have the assigned stickers appear on the bot’s face.
For example
,
click the menu “Themes” on the left menu, drag and drop the “Animated Stickers” to the canvas, and select “Happy Family’s Day” sticker.
Drag the program to the bottom of “Start” and select the device you want to play on – My Bot (or Simulator).
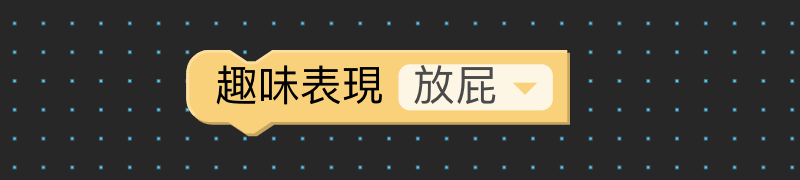
Fun performance _
Explain
the
fun performance that allows the robot to make the specified.
For example
,
click on the menu “Theme Shows” on the left, drag the “Fun Performance” to the canvas, and select “Bow”.
Drag the program to the bottom of “Start” and select the device you want to play on – My Bot (or Simulator).
Nuwa material library
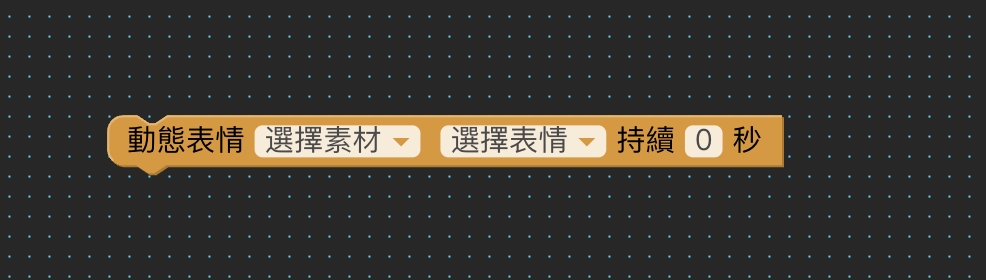
Dynamic expression _ select expression _ continue to play _ seconds
Description
Provides a large number of dynamic emoticons that can be loaded and used.
EXAMPLE
Click on the “Nuwa Library” menu on the left menu and drag and drop the “Animated Emotes” to the canvas.
Click “Select Material”, select “Green Frog”, and click to confirm.
Click on the “Select expression” drop-down menu, select “anger”, and keep playing for 5 seconds.
Drag the program below Start and select the device to play on – My Bot (or Simulator).
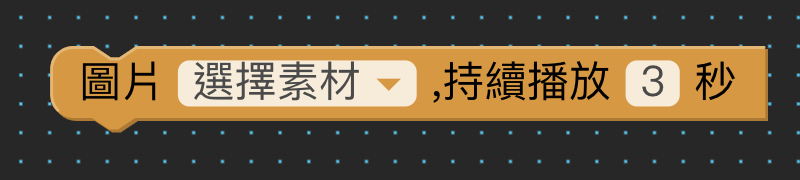
Picture _, keep playing _ seconds
The
description
is different from the face’s “Upload image” in which the image material comes from the online library and can be set to keep playing in seconds.
For example
,
click the “Nu-wa Library” menu on the left menu and drag “Pictures” to the canvas.
Click “Select Material”, select “Volleyball” and click to confirm.
Click on the pull-down menu and select Volleyball and keep playing for 5 seconds.
Drag the program to the bottom of “Start” and select the device you want to play on – My Bot (or Simulator).
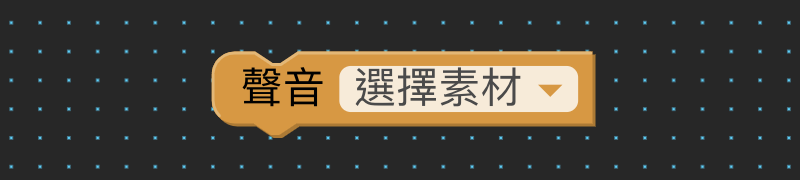
Sound _
The
description
provides a lot of sound effects that can be played on bots.
For example
,
click the “Nuwa Library” menu on the left menu and drag the “Sound” to the canvas.
Click on the drop-down menu, select “Add from Library”, select “Waltz” and “Cat Sounds”, then click OK.
Then click on the drop-down menu and select “Cat Sounds”.
Drag the program to the bottom of “Start” and select the device you want to play on – My Bot (or Simulator).
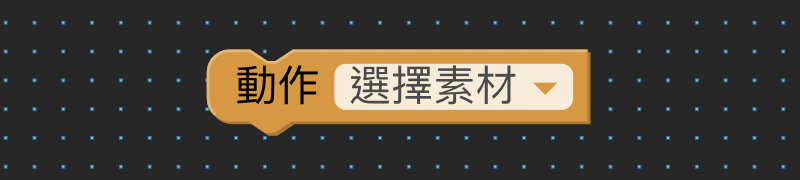
Action _
Description
provides a large number of movements that can set the robot to have a variety of different limbs to show.
For example
,
click the “Nuwa Library” menu on the left menu and drag the “Action” to the canvas.
Click on the drop-down menu, select “Add from Library”, select “Refuel” and “Look”, then click OK.
Then click the drop-down menu and select “Refuel”.
Drag the program to the bottom of “Start” and select the device you want to play on – My Bot (or Simulator).
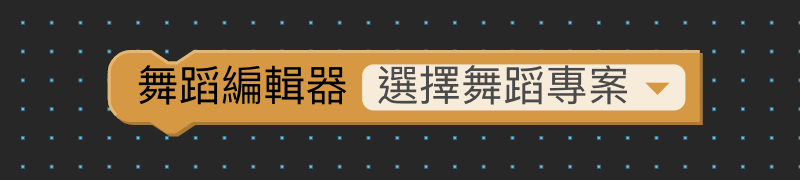
Dance Editor _
Explain
the dance project that has been created in the Dance Editor app on the robot side, through the coding lab, so that the robot can show off smoothly.
Example
:
Open the Dance Editor on the bot side and click “+” to start recording actions.
After recording the action, click the end icon, click “Confirm to join”, rename the action to “a”, then click “Confirm Save”.
Click the Save icon in the top right corner, then click New Project, rename the project to “1”, then click “Confirm Save”.
Click on the “Nu Library” menu on the left menu and drag and drop “Dance Editor” to the canvas.
Click on the drop-down menu, select “Add from bot”, select “1” and click “Confirm”.
Then click the drop-down menu and select “1”.
Drag the program to the bottom of “Start” and select the device you want to play on – My Bot (or Simulator).